

How to Keep a Lab Notebook That Stands Up to Scrutiny
Introduction
A lab notebook can protect your work, your paper, and your reputation. But only if it is complete, traceable, and defensible. Too many records fail under review because they are incomplete, altered, or impossible to reproduce. If you want your essay on lab documentation to hold up in a clinical or research setting, you need a system, not habits. A strong lab notebook is built for scrutiny, not convenience.
1. Use a notebook system that preserves continuity
1.1 Choose a bound, pre-numbered notebook
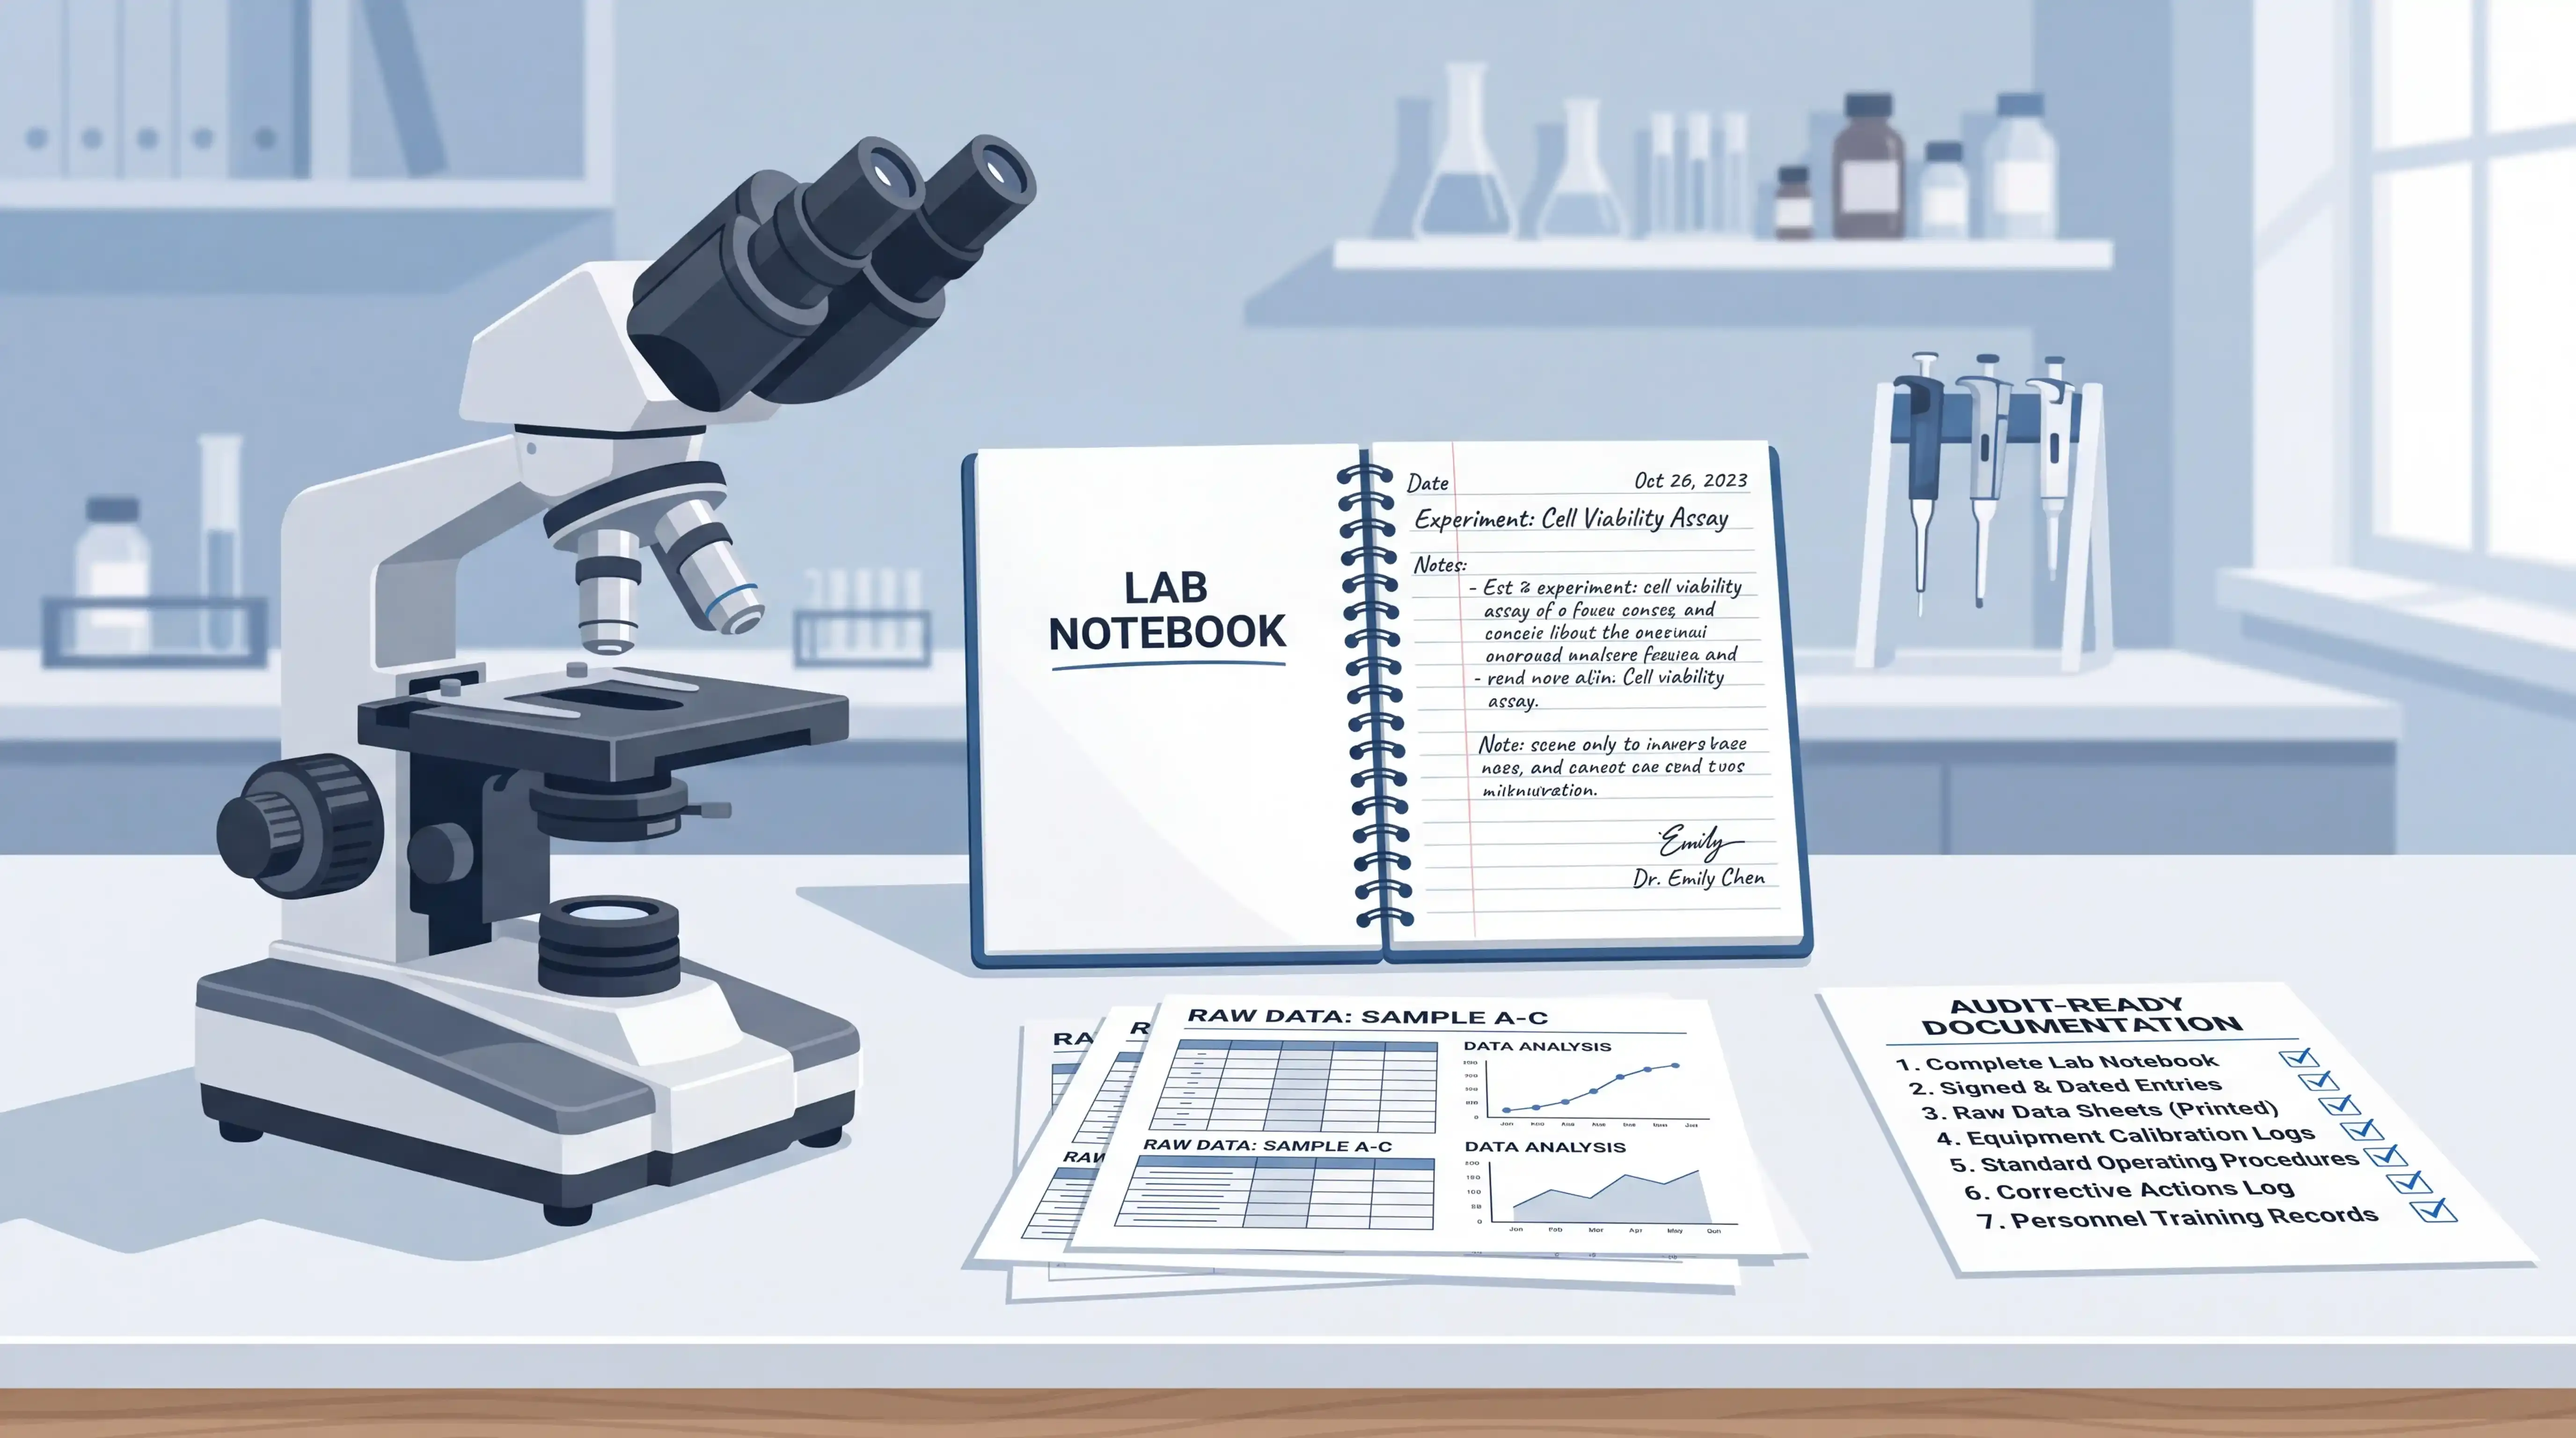
The first rule is simple. Use a dedicated lab notebook with continuous page numbers. Do not tear out pages. Do not leave gaps without explanation. If the notebook has no page numbers, number every page before recording anything.
Continuous pagination matters because it protects the timeline of your work. When pages are missing, reviewers may question whether data were removed or altered. For medical students, physicians, and researchers, that alone can undermine credibility.
1.2 Record every page in real time
Write entries on the day of the experiment whenever possible. Delayed notes rely on memory, and memory is weak evidence. If you must add details later, do it as soon as possible and clearly mark the date of the addition.
A lab notebook is not a summary document. It is a contemporaneous record. That is what makes it useful during publication review, internal audits, or allegations of misconduct.
2. Capture all essential experimental details
2.1 Record enough for another person to reproduce the work
A good notebook should let a trained colleague repeat the experiment without asking you for missing information. That means recording more than the protocol title.
Include:
- Sample source
- Instrument model and manufacturer
- Reagent brand, lot number, and concentration
- Primer sequence and supplier
- Incubation time, temperature, and settings
- Data processing method
If a detail can change the result, it belongs in the notebook.
2.2 Separate protocol from interpretation
Write what you did and what you observed. Do not mix results with conclusions too early. That separation makes later review easier and reduces the risk of bias.
For example, note the raw signal, the condition used, and the exact output from the device. Then, in a later section or linked note, record your interpretation. This structure is especially useful in translational research, where the same result may support more than one biological explanation.
3. Keep raw data raw
3.1 Preserve unedited originals
Never treat processed data as the original record. Keep the direct output from the instrument. If you print electronic data, store the printout with the notebook. If the paper and electronic versions differ, the paper record should be clearly labeled and the discrepancy explained.
Raw data must remain untouched. That includes image files, numeric readouts, and instrument exports.
3.2 Save full context, not only selected fields
If you are documenting microscopy, gel work, or cell-based assays, save the full image set, not just the best field. If you run multiple wells or repeats, record the full plate or full panel, then specify how you selected final figures.
This matters because selective reporting can look like data manipulation. Even when unintentional, it creates doubt. A rigorous notebook shows the complete experiment, including failed runs and inconsistent replicates.
4. Record failures and corrections honestly
4.1 Do not record only successful experiments
A lab notebook is a full experimental diary. It should include failed conditions, weak signals, contamination, and unexpected results. These records prevent repeated mistakes and help others understand what was tested.
Excluding failures creates an incomplete scientific story. It can also make your work look selectively curated.
4.2 Correct errors in a visible, signed way
If you make a mistake, do not erase it, smear it out, or remove the page. Draw a single line through the incorrect text so it remains legible. Write the correction nearby. Add your initials, the date, and, when required, a witness or supervisor signature.
This method preserves transparency. It also shows that changes were made openly, not concealed.
5. Use materials that cannot be easily altered
5.1 Write with stable ink
Avoid pens that fade or can be easily modified. Fluorescent ink is a poor choice for long-term records. Ballpoint ink can be altered with solvents. Use a pen with stable, water-based ink or a fountain pen with permanent ink, according to your institution’s policy.
Your notebook should remain readable years later. If the record fades or can be changed without detection, its evidentiary value drops.
5.2 Avoid shortcuts that weaken credibility
Do not rely on loose scraps of paper. Do not paste in undocumented summaries without dates. Do not create a notebook that only exists as a polished report after the fact.
The safest approach is a record that shows when, how, and by whom each entry was created.
6. Back up, archive, and transfer data properly
6.1 Back up both paper and digital records
Original data should be backed up routinely. That includes handwritten notes, printouts, files from imaging systems, and instrument exports. Use secure storage with clear retention rules.
Older systems often used discs. Today, many labs rely on external drives or network storage. The key principle is the same: data must be archived before it is lost, overwritten, or forgotten.
6.2 Document handover and custody
Good records do not disappear when a project ends. They should be transferred clearly when a paper is submitted, when a trainee leaves, or when a principal investigator takes over the project files.
Record:
- What data were handed over
- To whom
- When
- In what format
This is especially important in hospital-based and academic environments, where multiple people may need to review the same evidence later.
7. Make instrument quality part of the record
7.1 Use calibrated equipment only
If an instrument has not been maintained or calibrated on schedule, its results may be questioned. This applies to clinical and research tools alike, from pH meters to imaging systems.
Document calibration status, maintenance dates, and any relevant checks. If the device was out of calibration or under review, say so. That honesty protects both the dataset and the people who used it.
7.2 Link equipment status to each experiment
If a machine was verified before use, note it. If a device setting matters to the result, record it. These details help show that the data came from a controlled, valid process.
A notebook that ignores instrument status is incomplete. In regulated or publication-facing work, that omission can be costly.
8. Use structure to support publication and audit readiness
8.1 Organize entries into three layers
The most useful notebooks separate records into:
- Experimental workflow
- Raw data
- Writing and analysis notes
This structure helps you review the work later. It also makes it easier to build the Methods section of a manuscript with accurate technical detail.
8.2 Turn notebook entries into publishable evidence
When your records are complete, they do more than protect you. They accelerate writing. They make methods easier to verify. They reduce the risk that a reviewer will question a figure or ask for missing source data.
For researchers balancing clinical duties and publication pressure, that efficiency matters. It saves time and reduces rework.
9. Use modern tools without losing traceability
9.1 Digital support should not replace the audit trail
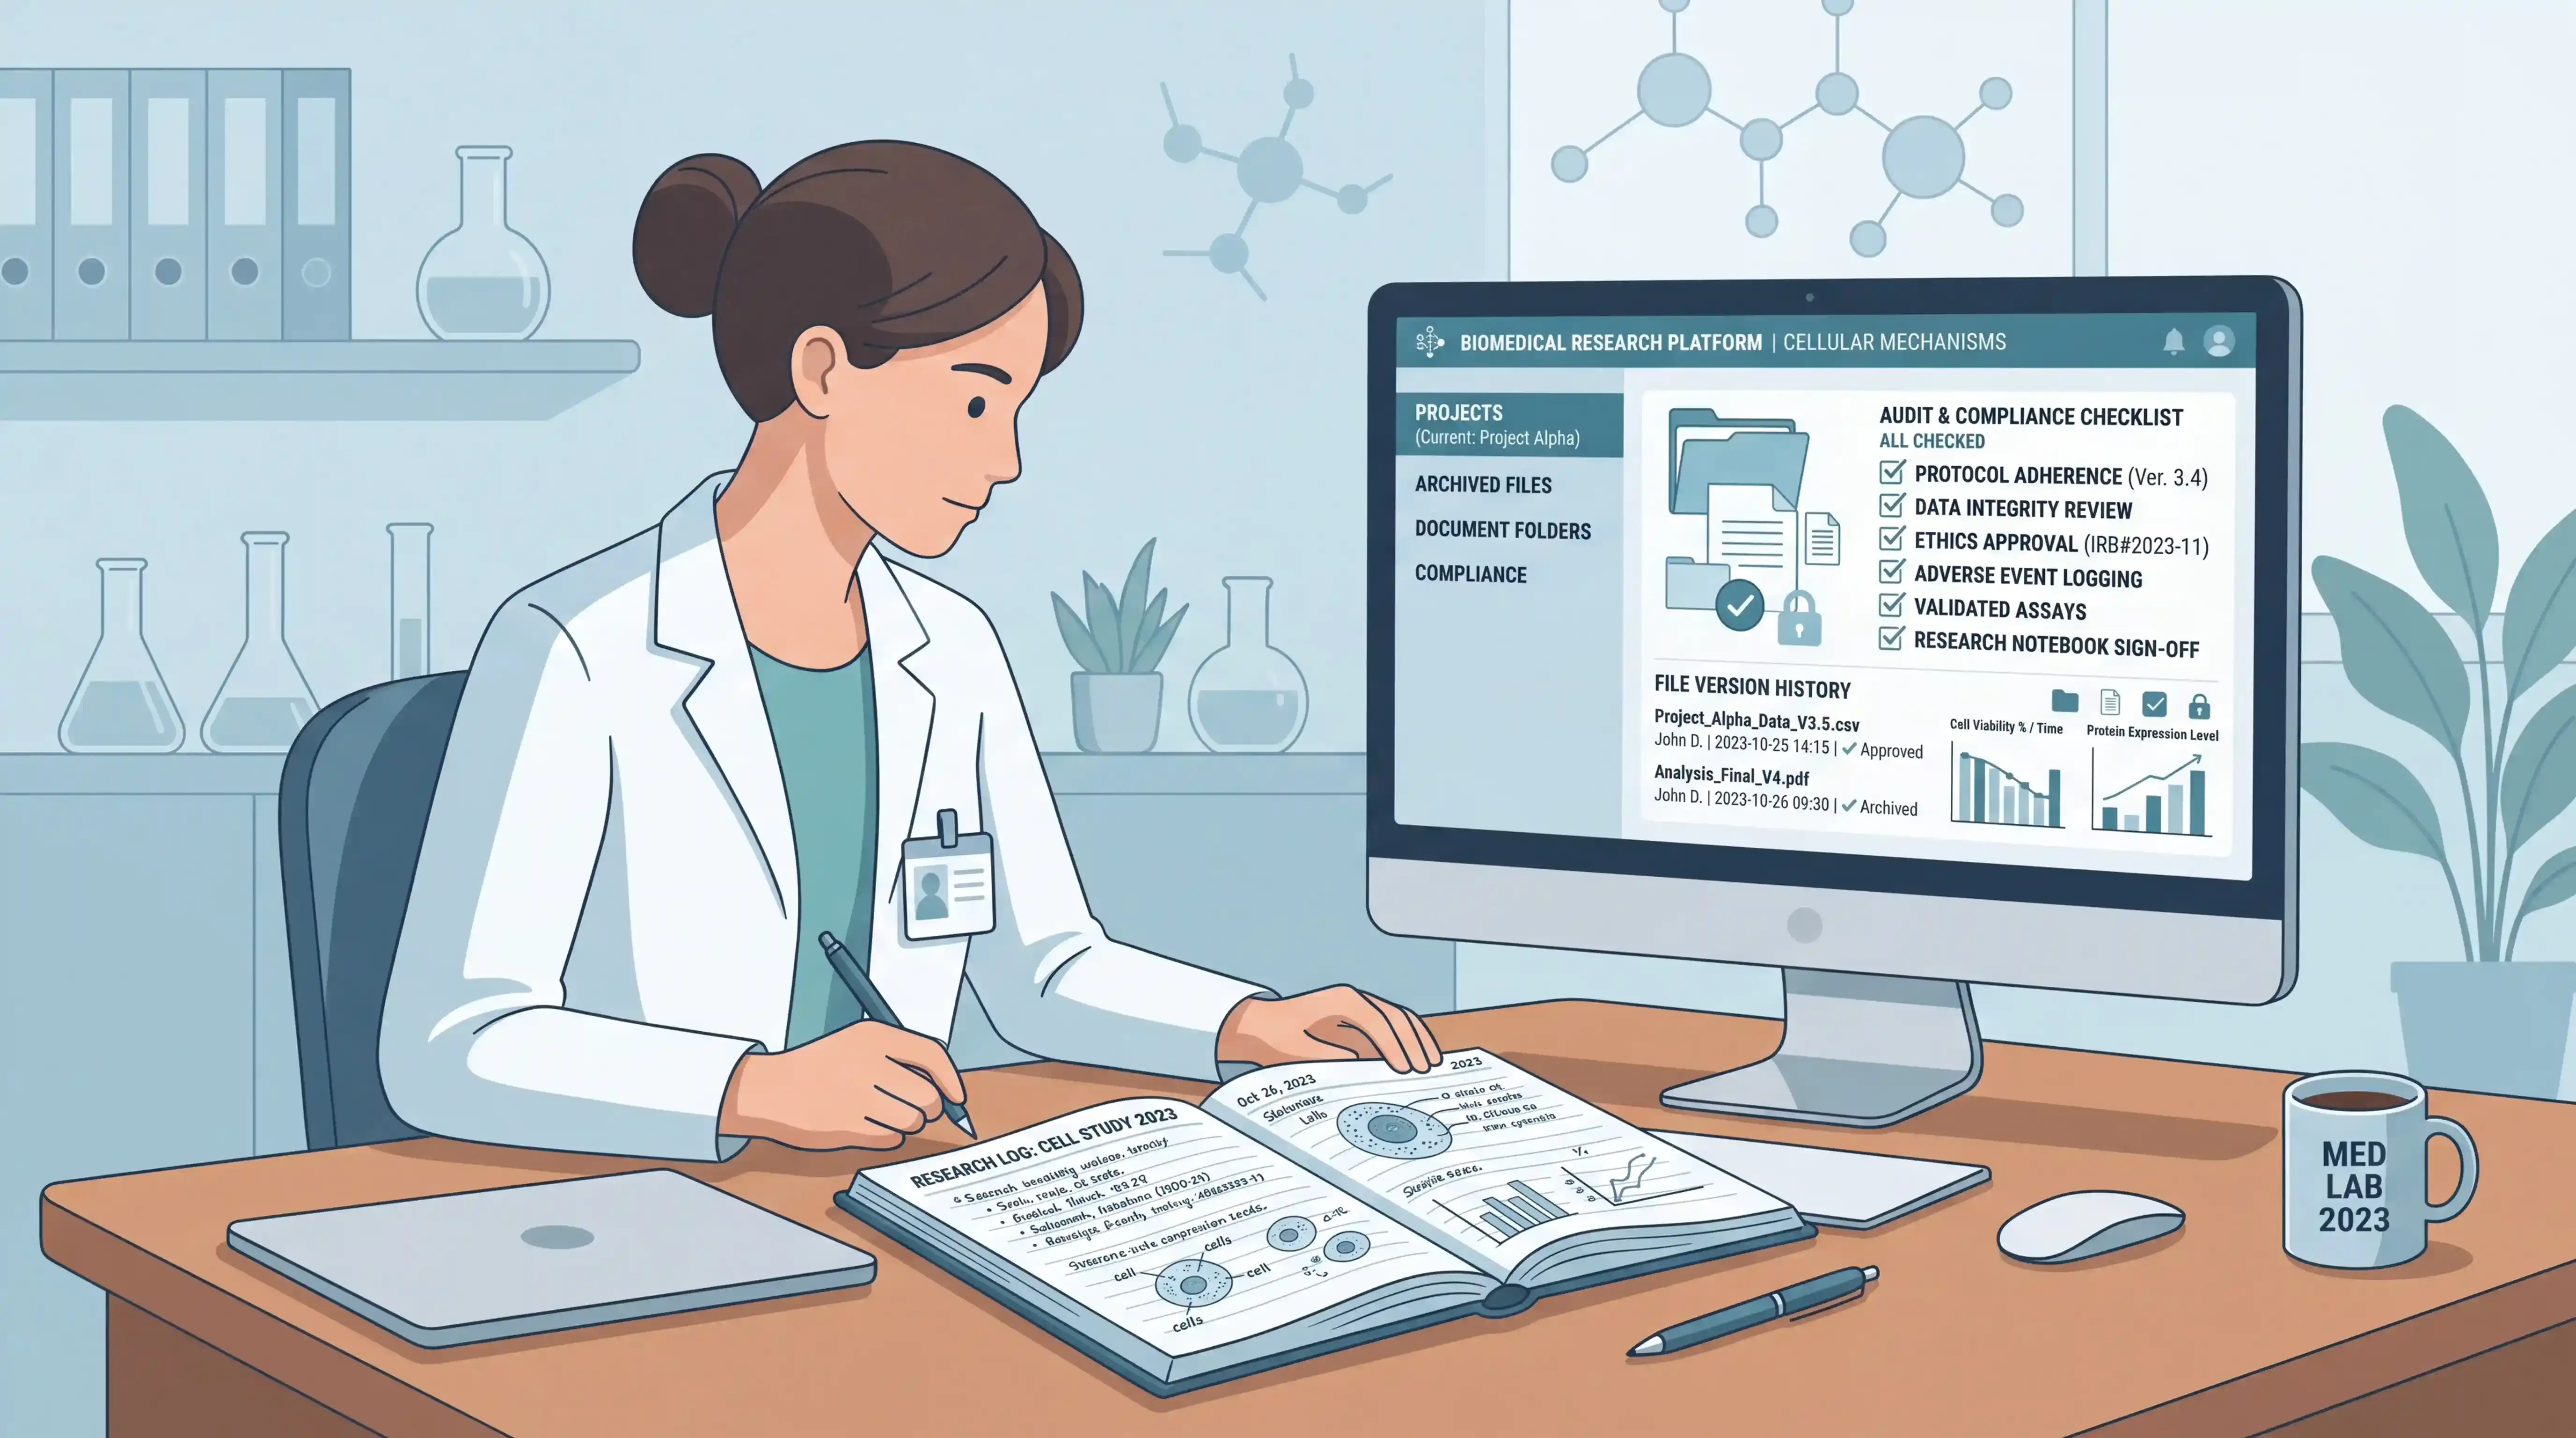
Electronic tools can help organize files, standardize templates, and speed up retrieval. But a clean digital workflow is not the same as a defensible record. The safest system is one that keeps source data traceable and time-stamped, while preserving a reliable record of what was done.
9.2 Consider a workflow platform built for research documentation
This is where scifocus.ai can help. It can support structured documentation, keep project materials organized, and reduce the chaos that often leads to missing files or inconsistent records. For teams that need clearer data handling, it can make documentation more efficient without sacrificing rigor.
The goal is not just storage. The goal is evidence you can trust when scrutiny arrives.
Conclusion
A lab notebook that stands up to scrutiny is continuous, complete, and honest. It records the full experiment, the raw data, the corrections, and the equipment status. It also preserves a clear chain of custody for future review. If you want better compliance, better reproducibility, and less stress during publication or audit, build that system now. For a more organized, research-ready workflow, explore scifocus.ai and make your documentation process stronger from the start.
Did you like this article? Explore a few more related posts.
Start Your Research Journey With Scifocus Today
Create your free Scifocus account today and take your research to the next level. Experience the difference firsthand—your journey to academic excellence starts here.